
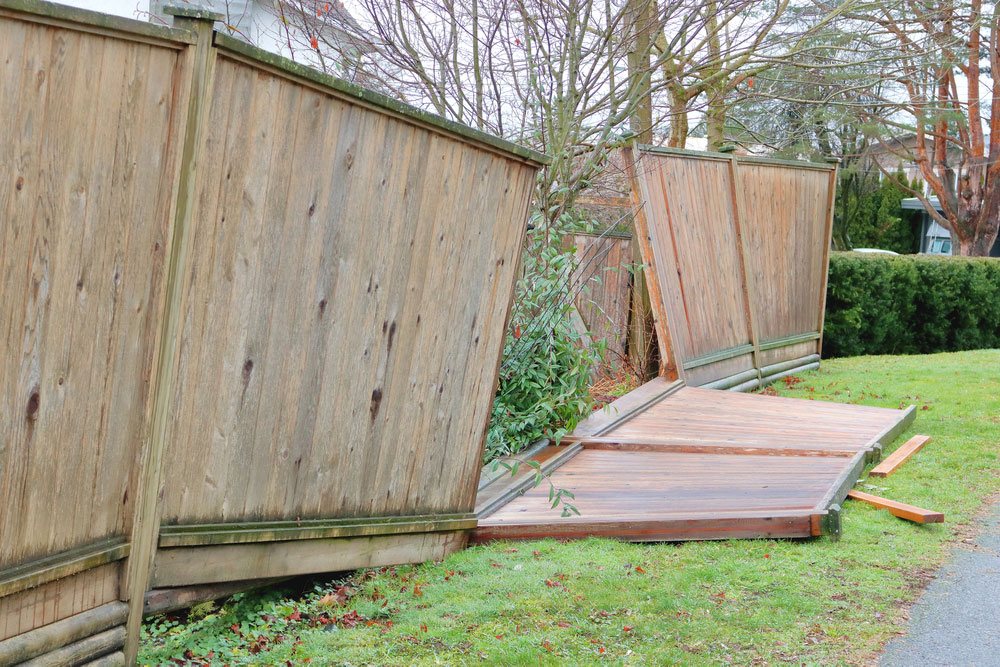
A well-maintained wood fence can boost your home’s curb appeal, add privacy, and increase property value. But over time, exposure to harsh weather, insects, and daily wear and tear can take a toll. If your fence is leaning, has broken boards, or is showing signs of rot, don’t worry — you don’t need to call in an expensive contractor. With the right tools and some DIY know-how, you can repair your wood fence like a seasoned pro.
Here’s a step-by-step guide to get your fence looking great again.
1. Assess the Damage
Start by walking the length of your wood fence and inspecting each section. Look for:
- Broken or cracked boards
- Leaning or loose posts
- Missing nails or screws
- Signs of rot or insect damage
- Warped or discolored wood
Make a list of what needs to be fixed or replaced. Some repairs are simple, like tightening screws, while others—like replacing an entire post—may require a bit more effort.
2. Gather the Right Tools and Materials
To repair your wood fence, you’ll need the following tools:
- Hammer or drill
- Galvanized nails or screws
- Replacement boards or pickets
- Post level and string line
- Concrete mix (for setting new posts)
- Saw (hand saw or circular)
- Pry bar or crowbar
- Wood preservative and sealant
Having everything on hand before you start will make the job smoother and faster.
3. Repair or Replace Damaged Boards
If you spot broken or cracked boards, they should be removed and replaced:
- Remove the damaged board using a pry bar or drill to take out nails or screws.
- Cut a replacement board to match the size of the original.
- Install the new board with galvanized screws or nails to prevent rust.
- Seal the wood with a waterproof sealant to extend its life.
Tip: Choose pressure-treated lumber or cedar to match your existing wood fence, as these types resist rot and insects.
4. Fix a Leaning Fence Post
One of the most common issues with a wood fence is a leaning post. This often happens because of shifting soil or rotting wood at the base.
Here’s how to fix it:
- Dig around the base of the leaning post to expose the bottom.
- If the post is rotted, remove it entirely and install a new one. Dig a hole at least 2 feet deep.
- Set the post upright and use a post level to ensure it’s straight.
- Pour concrete into the hole, filling it about 2-3 inches from the top.
- Let the concrete cure for at least 24 hours before reattaching the fence panels.
This method will stabilize your fence and prevent future leaning.
5. Treat and Protect Your Fence
Once all repairs are done, take a few extra steps to protect your wood fence from future damage:
- Apply a wood preservative to fight off rot and mildew.
- Stain or paint the fence to protect against UV rays and moisture.
- Consider trimming back any overgrown plants or vines that can trap moisture and cause decay.
Regular maintenance will dramatically extend the life of your fence and reduce the need for major repairs.
6. Perform Routine Checks
Proactive care is key to keeping your wood fence in top condition. Every few months, take a few minutes to inspect the fence and address small problems before they grow bigger.
Here’s what to look for:
- Loose nails or screws
- Signs of rot or insect activity
- Sagging sections
- Water damage at the base of posts
Tackling minor repairs early on will save time and money down the road.
Conclusion
You don’t have to be a professional carpenter to restore a damaged wood fence. With a bit of effort and the right tools, you can handle most common fence issues on your own. Whether it’s replacing a few broken boards or resetting a leaning post, these simple steps can bring new life to your fence — and your yard.
A sturdy and attractive wood fence not only provides security and privacy, but it also makes a strong first impression. So, grab your tools and take charge — your fence (and your wallet) will thank you later!


